Coach Onboarding Guide | FitConnect
Complete setup guide for new coaches. Configure payments, services and availability.
Overview
Welcome to FitConnect! This guide walks you through the complete onboarding process to get your coaching business up and running. The onboarding wizard will guide you through each step, but this documentation provides additional detail and tips.
Step 1: Create Your Account
Sign up
Verify your email
Start onboarding
Pro Tip
Step 2: Basic Information
Enter your professional details:
- Display Name: How clients will see your name (e.g., "Coach Mike" or "Mike Johnson")
- Bio: A compelling description of your experience, approach, and what makes you unique
- Location: Your city or area for in-person sessions
- Experience: Years of professional coaching experience
Writing a Great Bio
Step 3: Specialties
Select your coaching specialties. You can choose multiple:
- Personal Training: General fitness, strength training, weight loss
- Nutrition: Diet planning, meal prep guidance, macro coaching
- Boxing: Boxing technique, conditioning, sparring
- MMA: Mixed martial arts, grappling, striking
- Bodybuilding: Competition prep, posing, physique development
Note
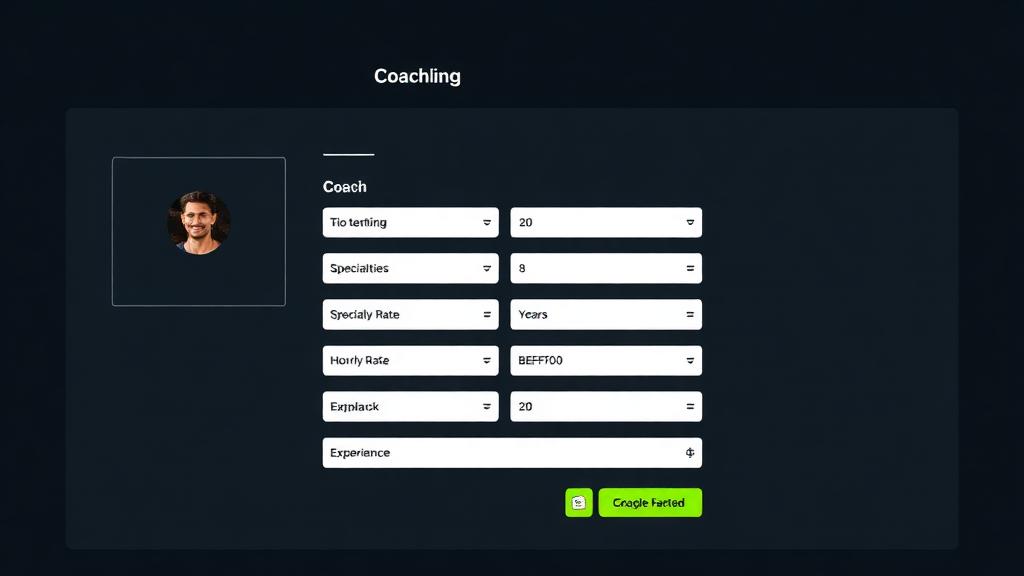
Step 4: Services & Pricing
Define the services you offer and set your prices:
Hourly Rate
Set your base hourly rate. This is displayed on your profile and in search results.
Session Types
Create different session types with specific durations and prices:
- Free Consultation: 15-30 min intro call (recommended)
- Standard Session: Your typical training session
- Extended Session: Longer sessions for complex training
- Online Session: Virtual coaching via video call
Online vs In-Person
Indicate whether you offer online sessions, in-person sessions, or both. Online expands your potential client base significantly.
Pro Tip
Step 5: Availability
Set your working hours for each day of the week:
Enable days
Set time ranges
Consider time zones
Note
Step 6: Connect Payments (Stripe)
To receive payments from clients, you need to connect a Stripe account:
Click Connect with Stripe
Create or log in to Stripe
Complete verification
Return to FitConnect
Warning
About Platform Fees
Step 7: Integrations (Optional)
Connect optional integrations to enhance your coaching:
- Video Conferencing: Connect Zoom or Google Meet for automatic meeting links
- Calendar: Sync with Google Calendar or Outlook to manage all appointments
Pro Tip
Step 8: Dual Account (Optional)
You can optionally create a client profile in addition to your coach profile:
- Train with other coaches on the platform
- Experience the client side of FitConnect
- Compete on leaderboards and earn achievements
Note
Step 9: Choose Your Plan
Select a subscription plan for your coaching business:
Free
£0/month
- • Up to 3 clients
- • Basic features
- • 4% platform commission
Starter
£19/month
- • Up to 10 clients
- • All features
- • 3% platform commission
Pro
£49/month
- • Up to 50 clients
- • Priority support
- • 2% platform commission
Enterprise
£99/month
- • Unlimited clients
- • White-label options
- • 1% platform commission
Pro Tip
📱 Subscribing on Mobile
What's Next?
After completing onboarding, focus on these priorities:
- Complete verification to earn your verified badge
- Upload a professional photo and card image
- Create session packages to offer discounted bundles
- Set up message templates for common responses
- Build workout and nutrition templates you can quickly assign to clients
Changelog
- 26 December 2024: Added mobile in-app purchase note for Step 9 (plan selection).